Know your indigo
Indigo – Persicaria tinctoria is a plant that will produce a beautiful blue color.
Woad – Isatis tinctoria is also a plant that is very similar to indigo, but Indigo is the more common plant to dye fabric that indigo color.
If you go to many nurseries they will have False Indigo – Baptisia, and it will not produce a blue color for dyeing fabric, but it is beautiful to use in the garden and the flowers range from blue, yellow and burgundy.
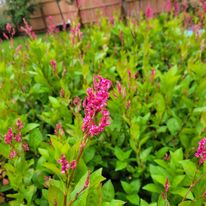
Indigo – Persicaria tinctoria – real indigo
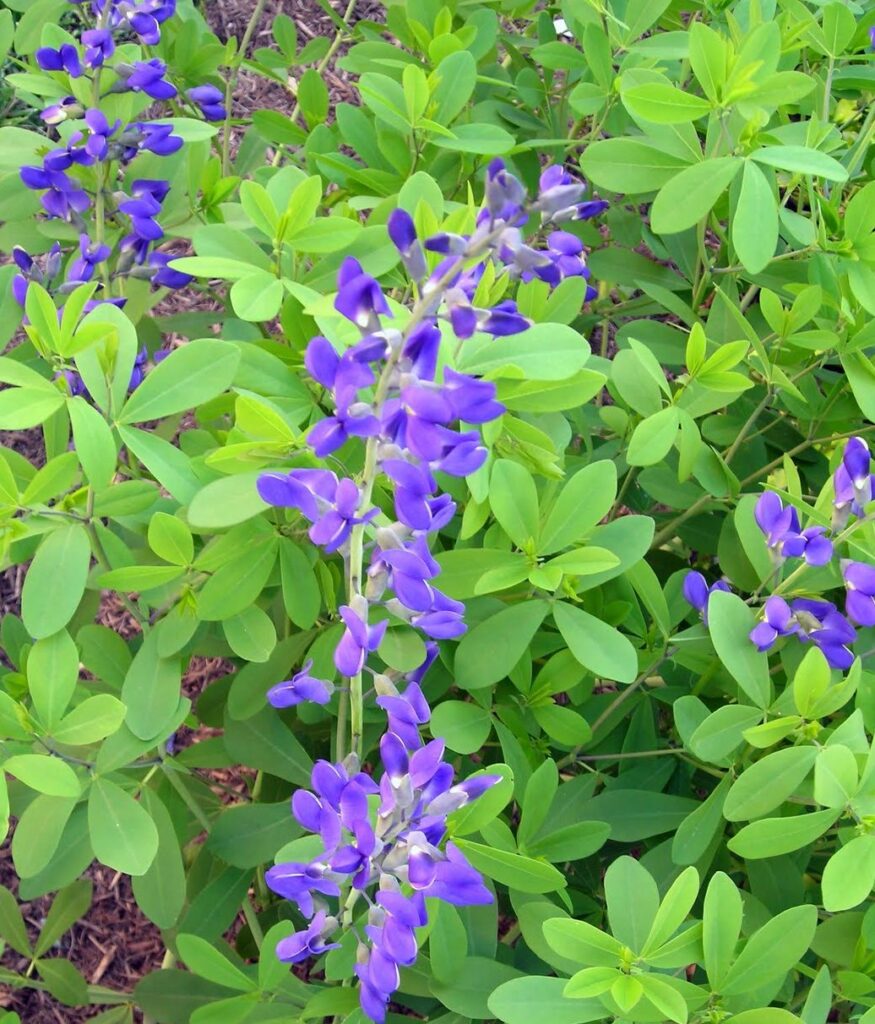
False Indigo – Baptisia
Indigo is originally from India and is still a huge industry there.
Indigo is also its own beast and cannot be used to dye fabric like other plants. The indigo pigment must be extracted from the plant and then converted into a soluble form. When making your own vat the most common form is to purchase the dried pigment, and through the reduction process, in the vat, you will be able to dye your fabric.
If you want to grow and ferment your own indigo leaves, know that it takes A LOT of leaves to make one vat.
Indigo Vat
When using an indigo vat the only fiber that can be used is the Cellulose fibers (cotton, linen, bamboo, hemp). Due to the very high pH (alkalinity) of the vat it would damage the protein-based fibers (Wool and silk).
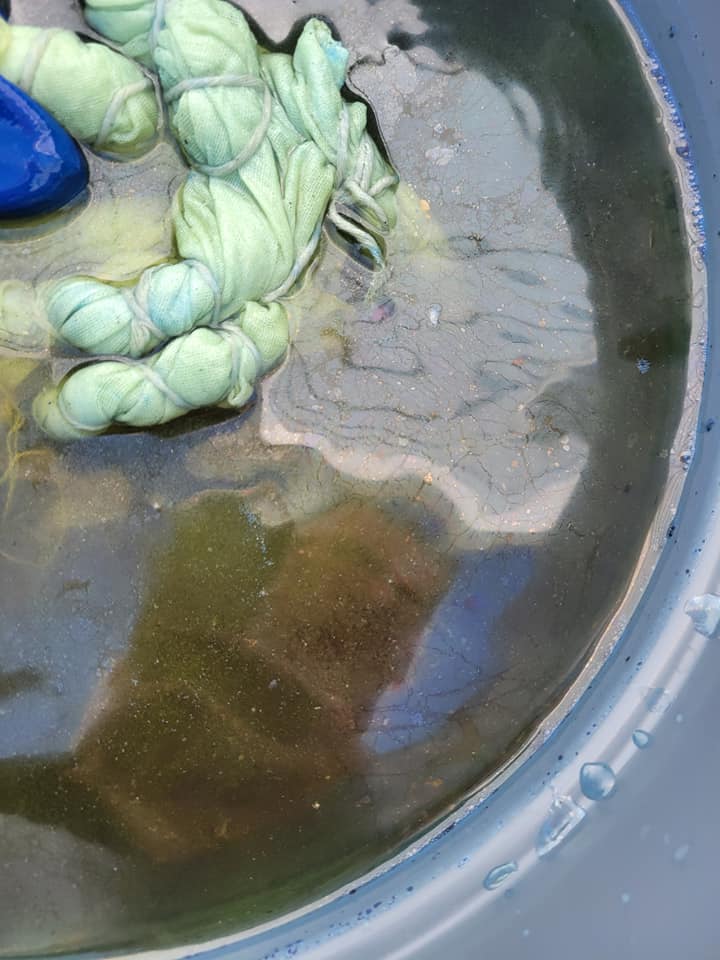
Fabric coming out of the vat before oxidizing with the air.
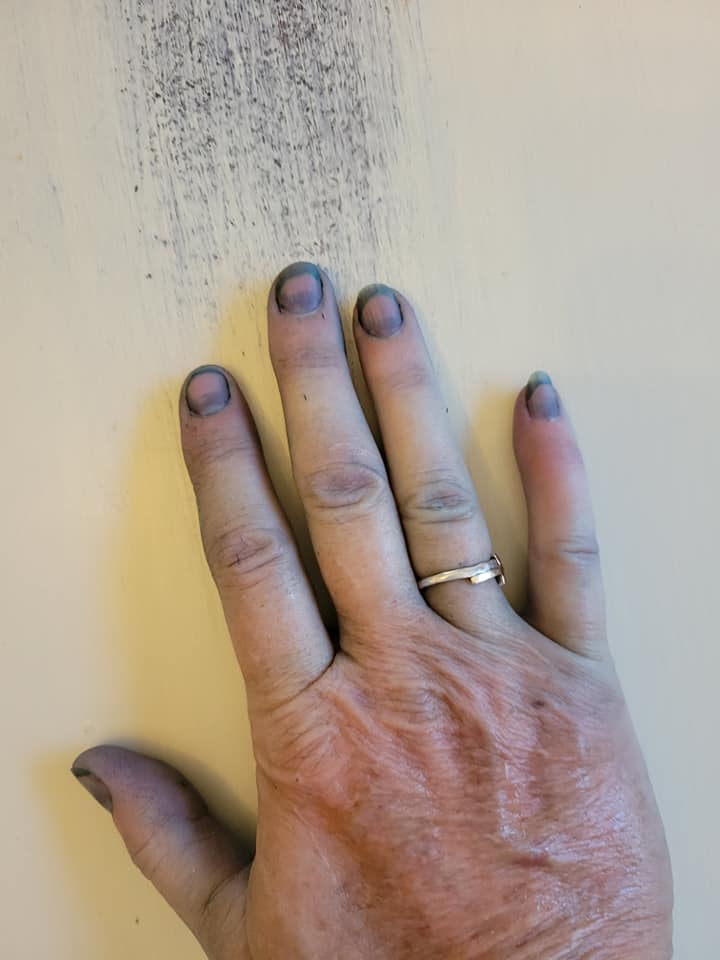
Blue Hands 🙂
Back to the indigo vat.
If you were to pull a ladle of fluid out of the vat it would be a clear pale-yellow color.
So how the heck am I supposed to get blue out of the yellow fluid, you might ask. Oh, that is where the magic happens.
When you pull the fabric from the vat it will be a light green color (see above) and as the air oxidizes the indigo solution it will slowly turn blue before your eyes.
You will want the fabric to completely oxidize (turn blue) before doing another dip in the vat.
Because of this oxidation process, it is very important to not introduce oxygen into your vat. If oxygen is reintroduced it will cause the vat to go out of reduction quickly. Because of this, fabric is introduced and removed from the vat gently. When removing the fabric, you will start squeezing the fabric out under the surface.
The blue on the fabric becomes darker with each dip into the vat and when the fabric is the blue intensity wanted you can proceed to the next step. The fabric will need to be fully oxidized (turned blue) and then rinse it in a bucket of fresh water. Once well rinsed the fabric will need to be neutralized by submerging it into a weak acid bath of vinegar mixed with cool water for at least 15 minutes. Dry the fabric away from the sunlight. A final washing in hot water using a neutral detergent should been done, separate from other fabrics.
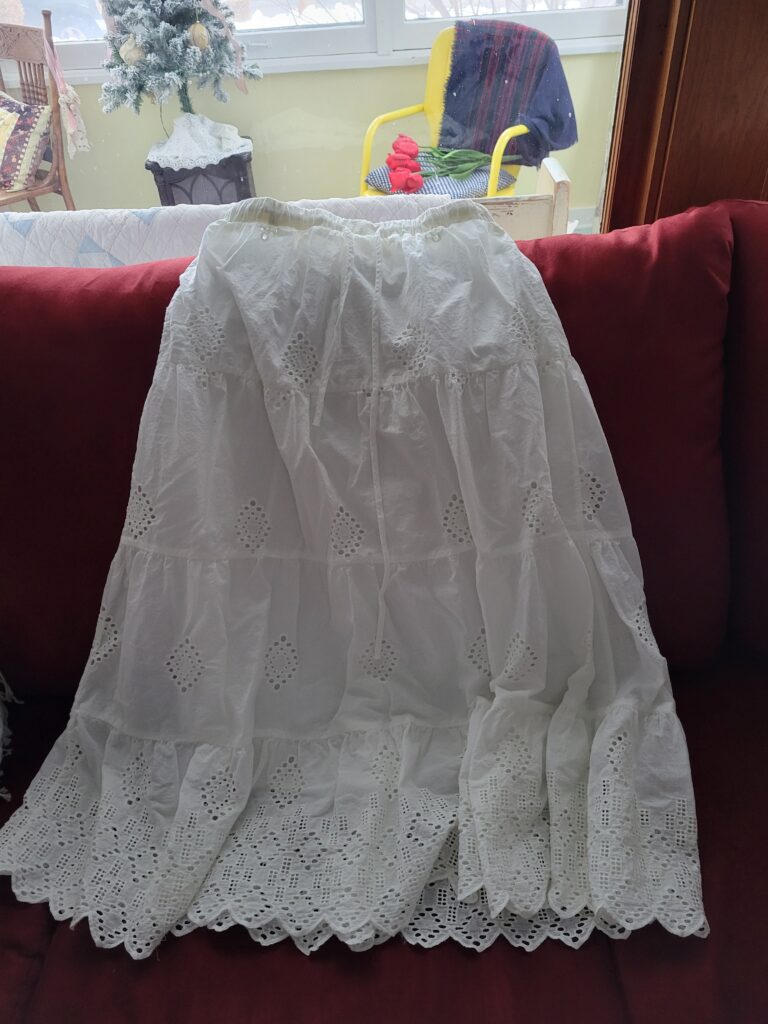
My daughter gave me this beautiful skirt to dye. 100% cotton
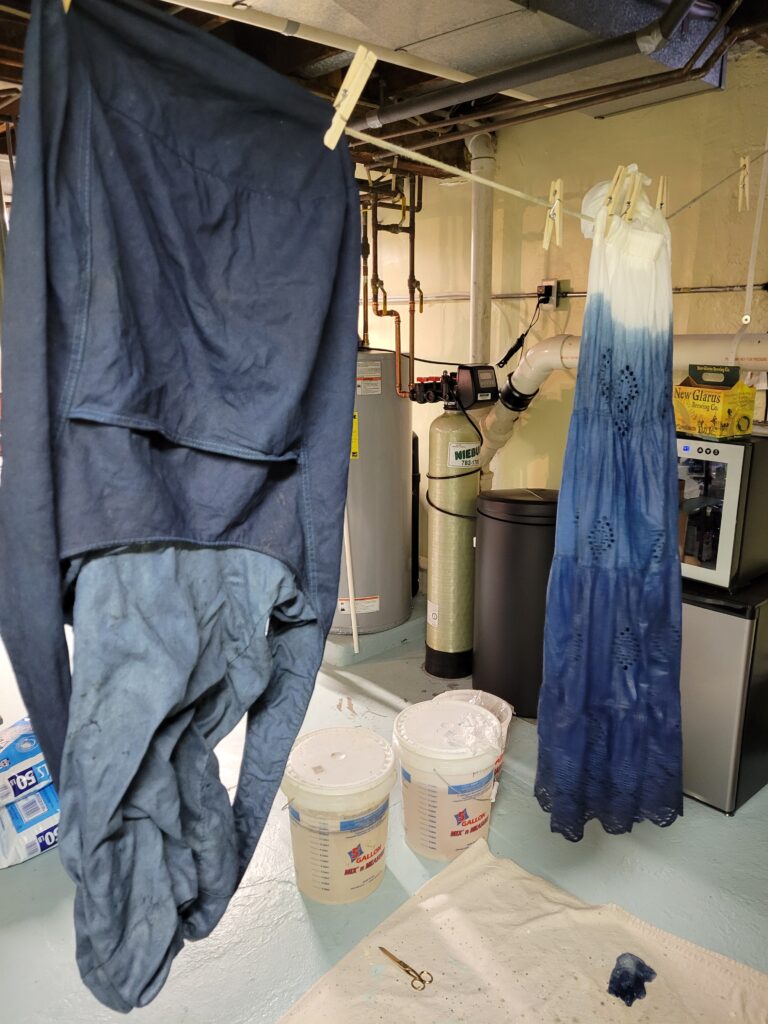
The bag was a light yellow and I overdyed it in my indigo vat. The skirt dipped several times in progression dark to light.
Using fresh indigo leaves:
If you want to grow your own Indigo, just know that it requires warmer temperatures year-round, thus this is why it is so happy in India. I live in a four-season area and my indigo needs to be replanted each year even though it is perineal.
I harvested the seeds from last year, dried and planted them this spring. I watered the seeds well and I have new plants pushing through the earth was we speak. (Or as you read).
Using Fresh Indigo Leaves
There is also a process to use the leaves and not make them into a vat, which I must admit is one of my favorite things to do. When processing outside of the vat you can use silk and wool along with your cotton and linens.
This is so fun, and anyone can do it (if you have access to fresh leaves). You also will not have to maintain a vat.
To pre-treat the fabric before using this method, it will need to be scoured and while damp soaked in soy milk, squeezing the milk through the fabric, then squeeze out the extra after it has a nice soak.
Only pick the indigo if you can use it right away. If you ever see a damaged indigo leaf or dried one – it will be blue – that is because it has oxidized and it will no longer be able to be used.
The leaves are the only part of the plant that will produce the indigo blue. When harvesting, cut the stems at least 3 to 4 inches above the ground so it can start growing back.
When I am pulling the leaves off the stems, I put the leaves in an ice-cold water bath in the sink, that helps keep them fresh until I have stripped all the stems. I use a big stainless-steel bowl to put the leaves in and set the stems aside.
Fun fact, if you put the stems in water, they will root out very quickly and can be planted.
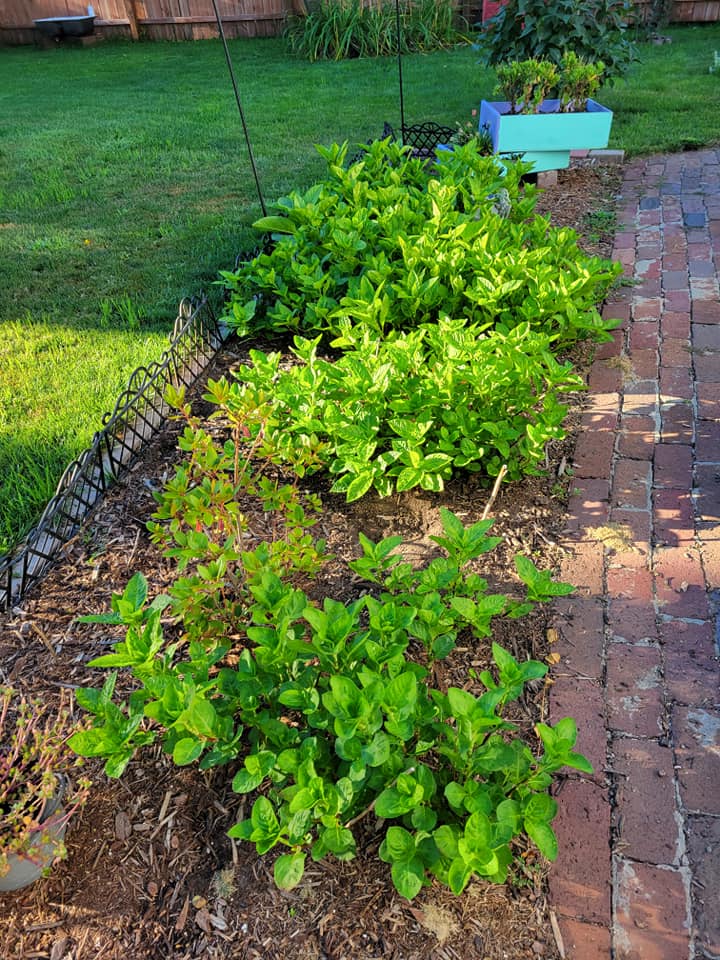
Indigo ready to be picked.
Okay, back to putting the leaves in the bowl. 🙂
I will fill the bowl about 3/4 full of leaves, then pour salt over the leaves and start kneading the salt into the leaves, over time they will break down and produce a blue liquid. Put your damp pre-treated fabric in the bowl and start kneading the fabric in with the leaves and fluid. This method works well with both cellulose and protein fibers. I would avoid kneading wool fabric as the agitation can cause the wool to felt. (See below for wool process).
If you don’t want blue hands make sure to wear gloves for this part of the process.
Knead the fabric with the indigo leaves until well saturated. When done, shake off the leaves and let the textile dry. Keep out of the sun for this process. Once the fabric is dry wash it in cool to cold water with neutral detergent.
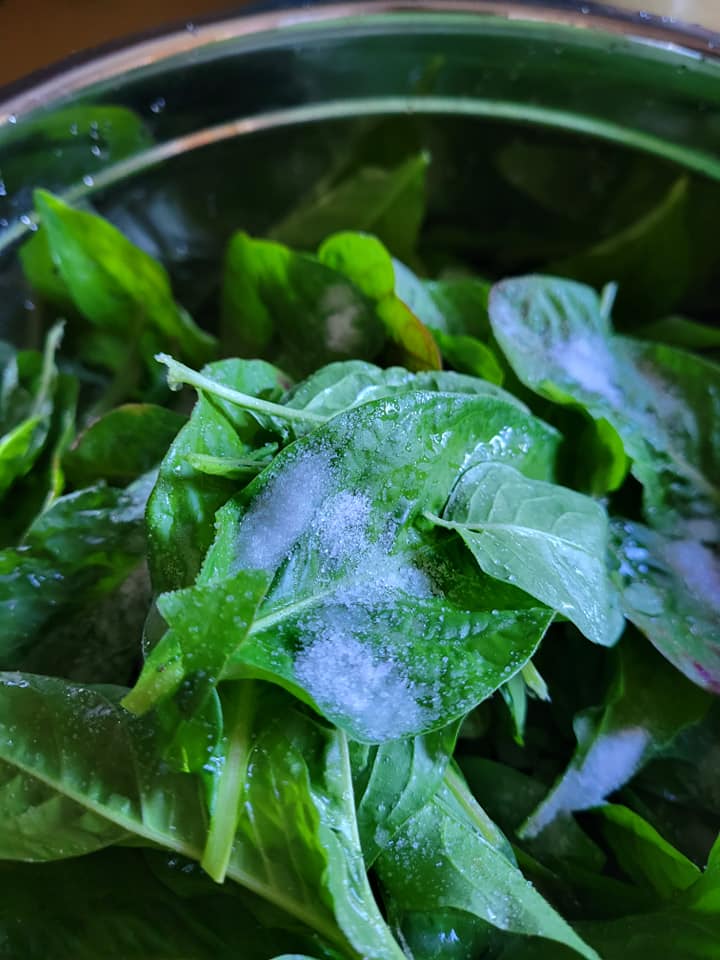
Salted indigo leaves.
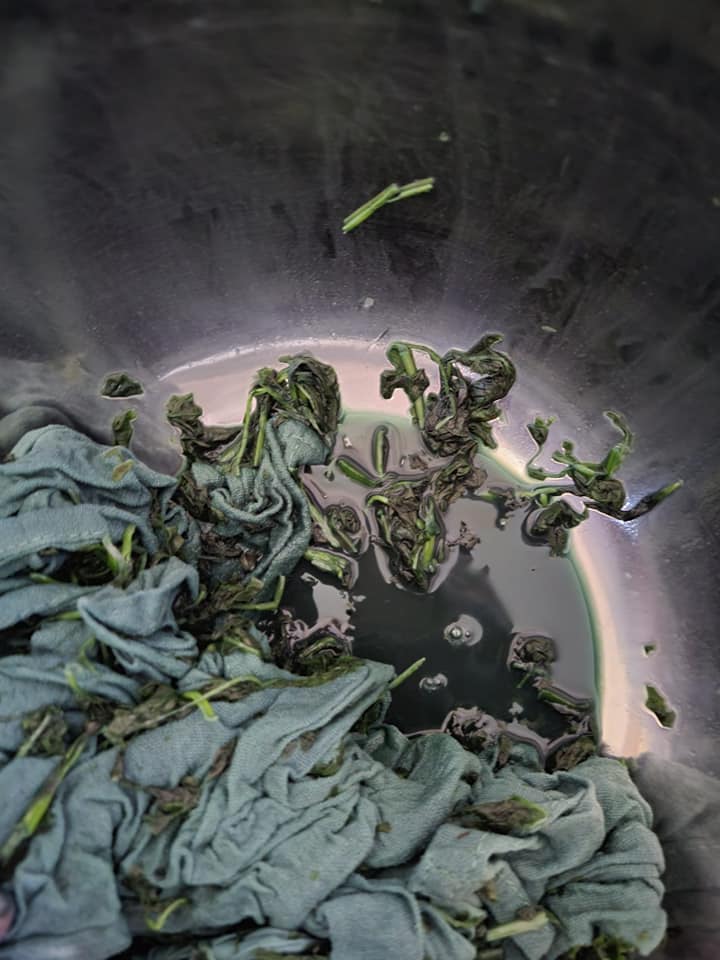
Kneaded indigo and fabric.
Wool
As I said above, it is not recommended to use the above method for wool. If you aggressively knead wool, it will most likely felt. So, if you want wool to felt, the above process is fine. To dye wool fabric or any kind of yarn follow the steps below.
Fill a blender with some ice and water and add the fresh indigo leaves. I prefer to just use ice water as it strains better. Blend leaves and ice water well and then pour the mixture through a strainer into the bowl.
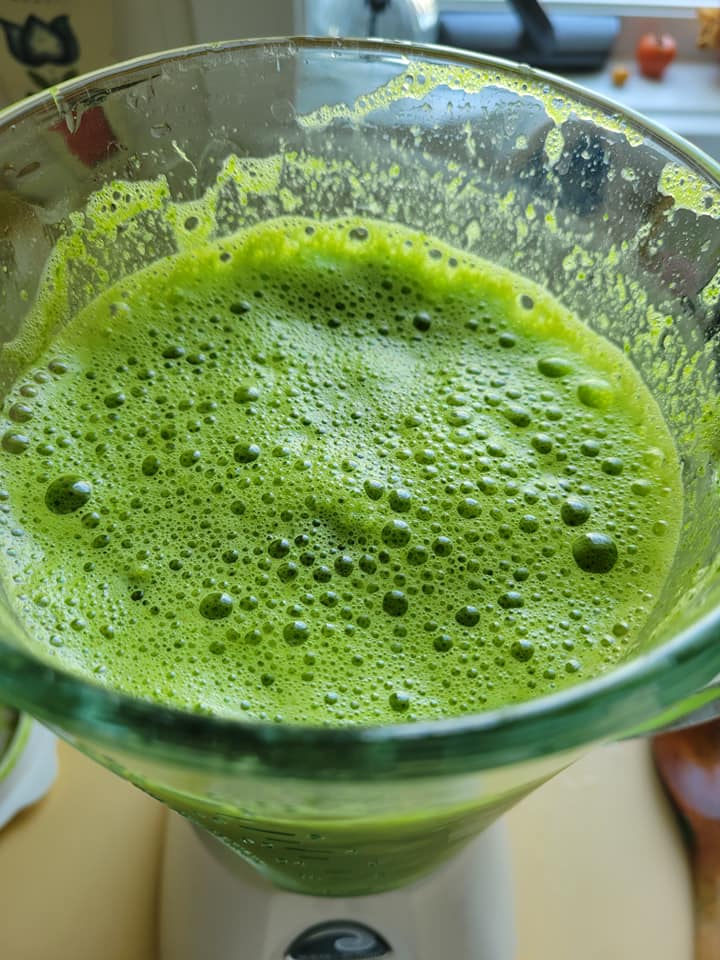
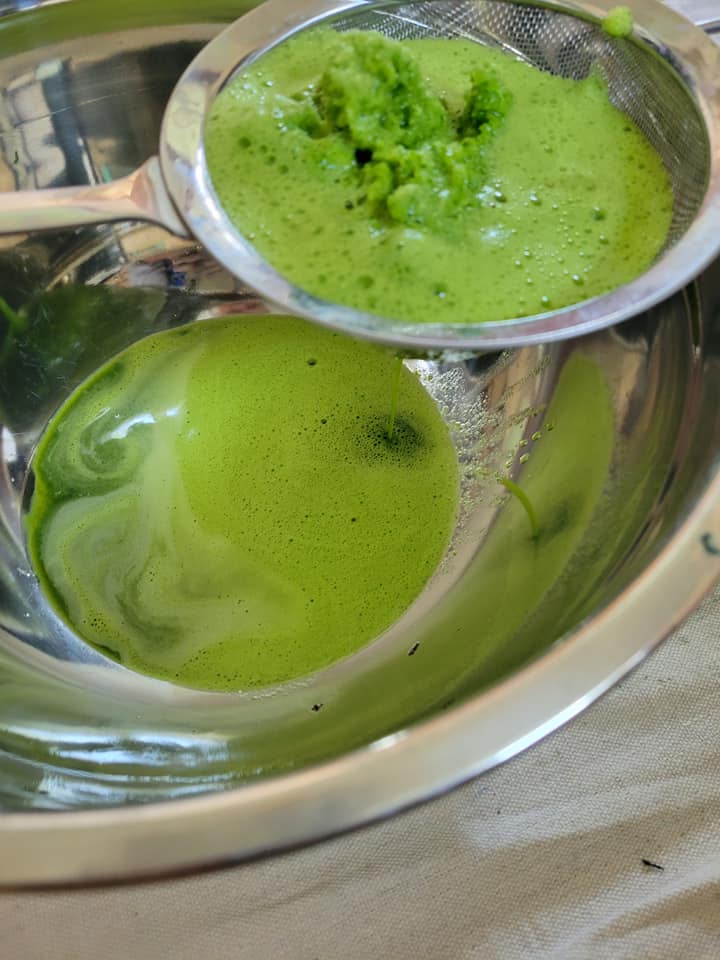
Gently work the fabric or yarn through the liquid in the bowl and squeeze don’t ring the excess fluid out of the textile and dry. Using this process with all yarn prevents having to pick all the leaves out of the yarn when you are done.
You can thank me now. 🙂
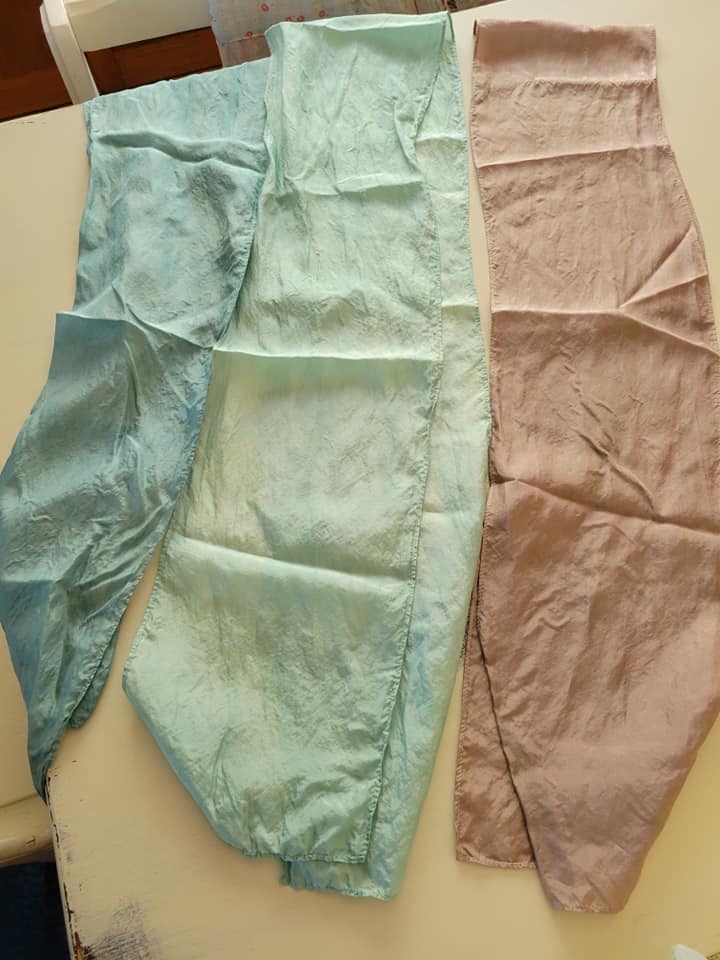
The darker blue silk scarf was the first one in the indigo bath
The lighter blue was the second one in the same bath.
The third silk scarf is worked through the heated left-over indigo leaves from the same batch. If you heat the leaves just right, you will get the indirubin from the indigo and it will give you a more plum color.
This was a very quick introduction to using indigo and in no way exhaustive or in depth.
There is so many ways you can work with indigo, with many sources of information regarding the use of indigo. I would encourage more reading on the topic if you want to embark on an indigo adventure.
Maiwa.com is a great resource and they carry indigo pigment to start a vat.
Happy blue dyeing!!
