It has been a hot minute since I wrote you all, but you have all been on my mind!
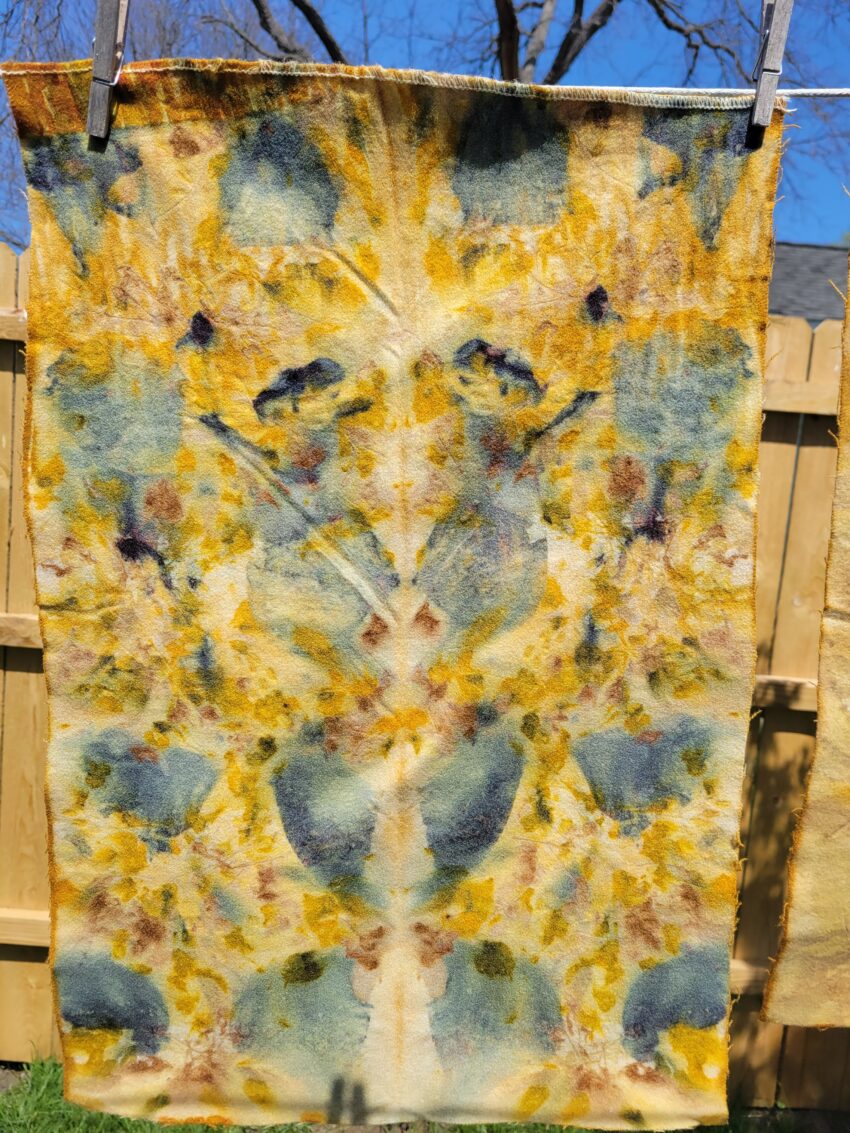
There have been so many fun adventures happening over here at The Creative Naiad! I will let you in on all that is going on….but…..the main focus of this post is an experiment I tried using something similar to the dirty pot method on wool.
Now, this doesn’t completely count as the dirty pot method, as I did mordant my wool fabric in Aluminum Sulfate first, which in the dirty pot you rely on iron, onion skins, and eucalyptus. In the future I will try a true dirty pot, but this was fun!! 🙂
But First
- My Etsy shop – thecreativenaiad.etsy.com is fully stocked – so run over and check out some fun finds, this really does help me so much!
- I have put together some classes for this spring and summer. The first one is this Saturday (April 27th). It is going to be so fun!!! I will be teaching a group how to paint a barn quilt to hang on their garage. In June I will be holding two separate botanical classes at my home – Flower pounding and using fresh indigo to make your own silk scarf! If you want to sign up for a class – go to – https://the-creative-naiad.square.site. I will be adding more classes and I would love to have you come and play.
So, enough chit chat, lets get into the wool dye experiment.
When preparing fabric for the dye pot, several steps must first be completed.
- The fabric must be of natural fibers – wool, silk, cotton, etc.
- The fabric must be scoured – a process of washing the fabric to remove any waxes, oils, and dirt. This is done with a pH neutral soap and washing soda.
- The fabric then goes through a mordant or mordant/tannin process. A mordant is a mineral salt that allows the natural dyes to bind to the fabric. This is the most important step of the process. Without doing this, the color will wash out of your fabric. In the case of my wool, I used Alum Sulfate – a common mordant for protein fibers such as wool and silk. Different processes are used with protein fibers vs cellulose fibers, such as cotton.
- Rinse the fiber to wash off any extra mordant. This is important so that the extra mordant doesn’t float in the dye pot, binding with the dye. This would make less dye for the fabric.
- Once all the above steps are completed, you can move on to the fun dye process.
- If you were using a true dirty pot, the mineral salt and tannin would not be used. The dirty pot itself (aluminum) provides the mordant and the onion skins and iron also provide and mordant and tannin.
Onto the process of using a pseudo dirty pot method, just for fun!!
I cut three pieces of fabric from a white wool blanket. Each one is the same size and all mordanted in Aluminum Sulfate. The fabric was “wetted out”, soaked for 30 minutes in warm water and then put in the washer on the spin cycle only, to remove excess water. Fabric must always be wetted out before the dye process.
All the leaves were gathered last fall, so they were soaked for a couple of hours in water to make them more pliable. The flowers were either from frozen flowers or dried petals.
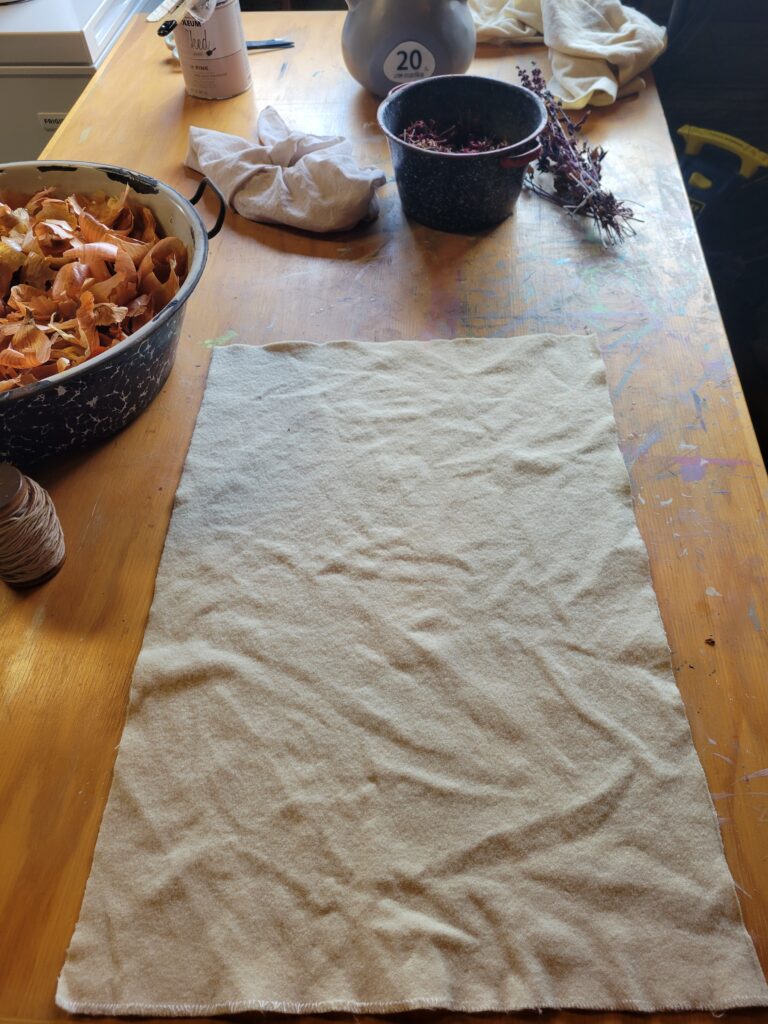
One of the three wool fabric pieces.
Each piece of fabric was done in a mirror image. So the flowers or leaves were placed on one half and then the fabric is folded over to cover the dye stuff. Once folded, onion skins were placed on the top and bottom side.
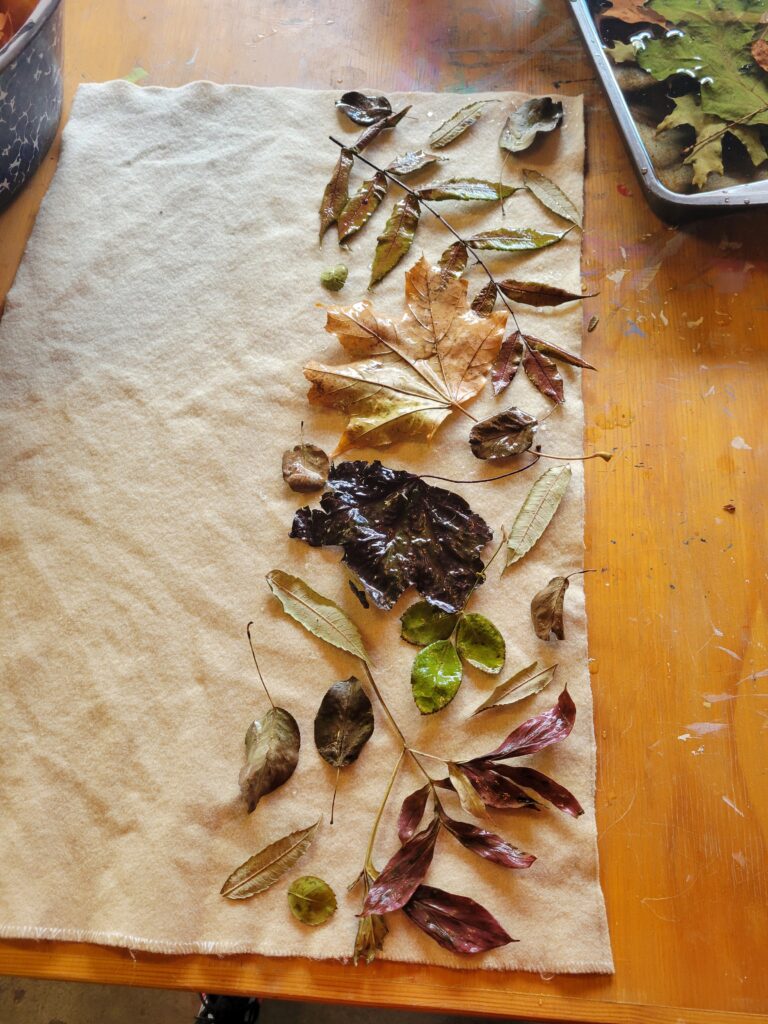
Leaves added to one side and then folded over.
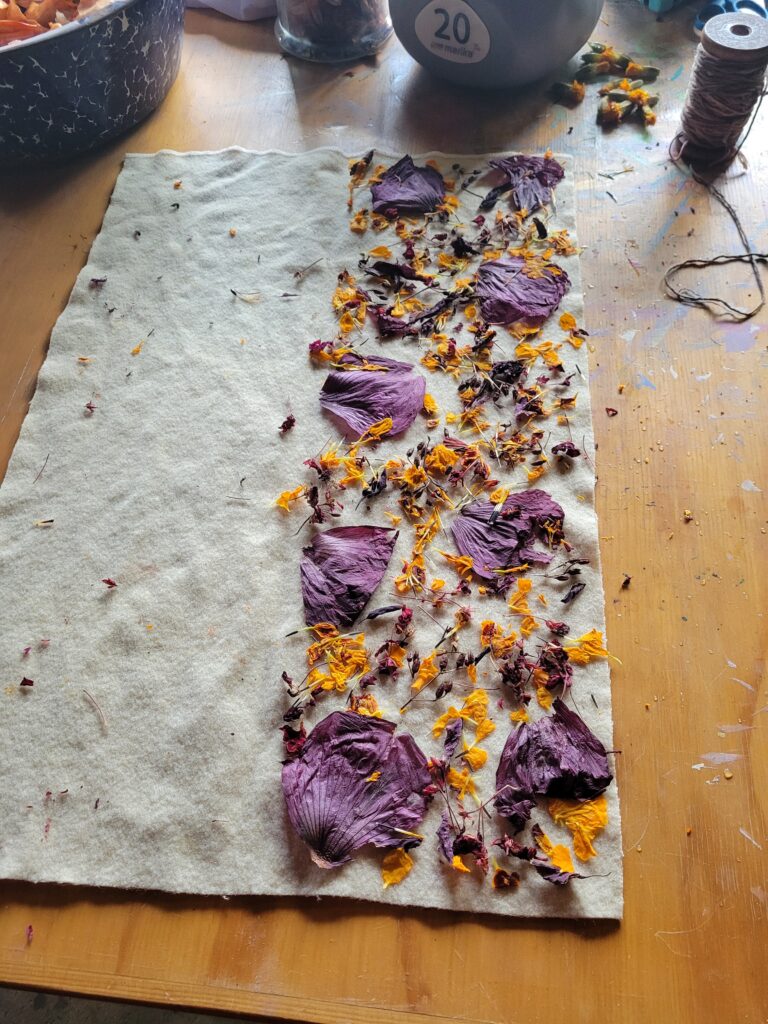
Flowers added on one half and folded over.
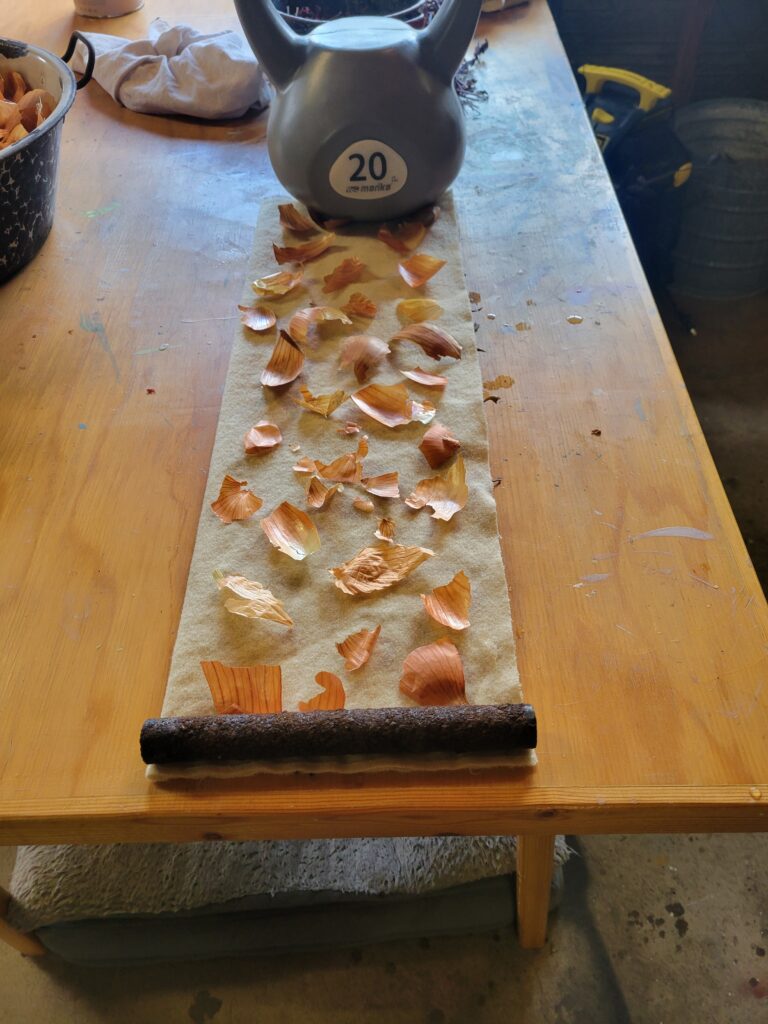
Onion skins placed and rolled on a rusty metal pipe.
The piece with the flowers was rolled on a wooded dowel, and so was one of the leaf pieces. The one above has leaves inside and rolled on an old rusted iron pipe. The 20# weight is set on the end of the fabric, so as you roll, you can pull it tight on the pipe. If you have someone to help you, they can tightly hold the other end of the fabric. This was a one women show, thus the weight.
To get a good print from your dye stuff, the tighter you make the roll of fabric and wrap the string around it once rolled, the better the print will be.
My first edited video, yay!
In the aluminum dye pot, I brought the water to a boil and added four large handfuls of onions skins and some rusty metal. This was boiled for an hour before I added the three rolled up pieces of fabric. This was to get some of the color out of the onion skins before adding the three rolls of fabric.
The fabric with the flower petals was boiled for two hours and the other two rolls with the leaves were boiled for three hours. Each was removed and allowed to cool.
Once cooled, the string was removed and the fabric rolled out and the dye stuff removed.
This is always the exciting part of anticipation! Oh, what will it look like, so hard to be patient!
The fabric is rinsed gently in warm water and then gently washed in pH neutral soap – like Synthrapol. The fabric will need to be neutralized due to the rusty iron in the dye pot. If this process is left out, the fabric can breakdown over time. To neutralize, the fabric was added to warm water and dissolved baking soda.
Once neutralized, allow to dry by hanging or laying flat. I prefer to lay the fabric flat to avoid any distortion in the final piece. Once dry, iron the wool on a wool/silk setting.
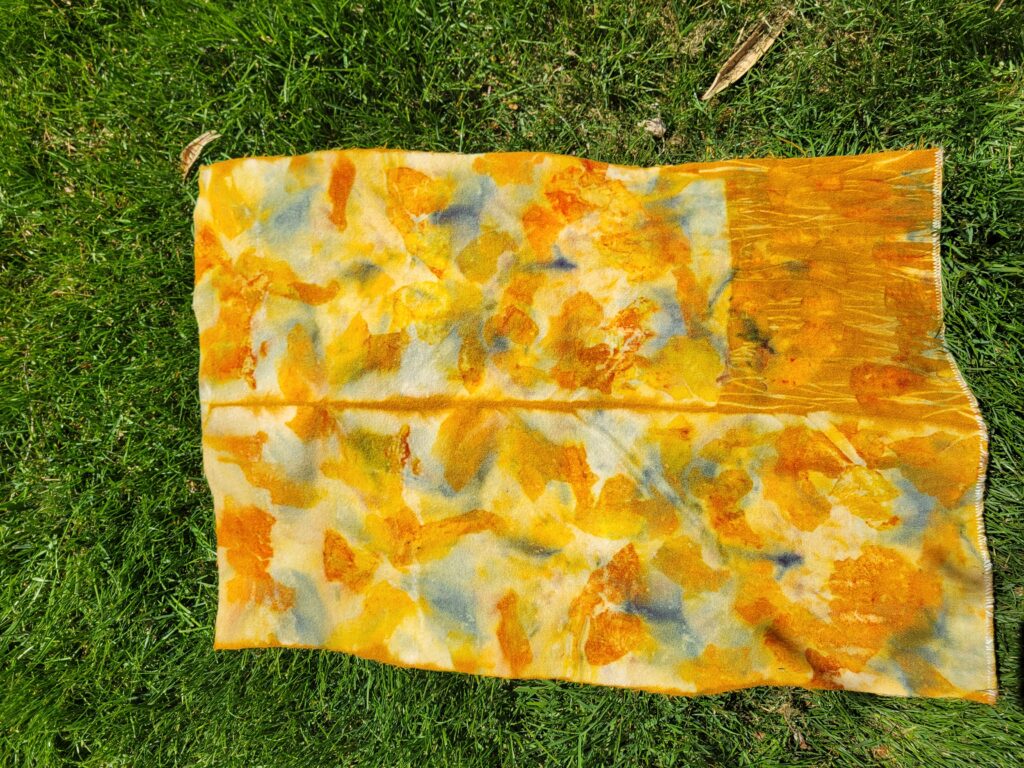
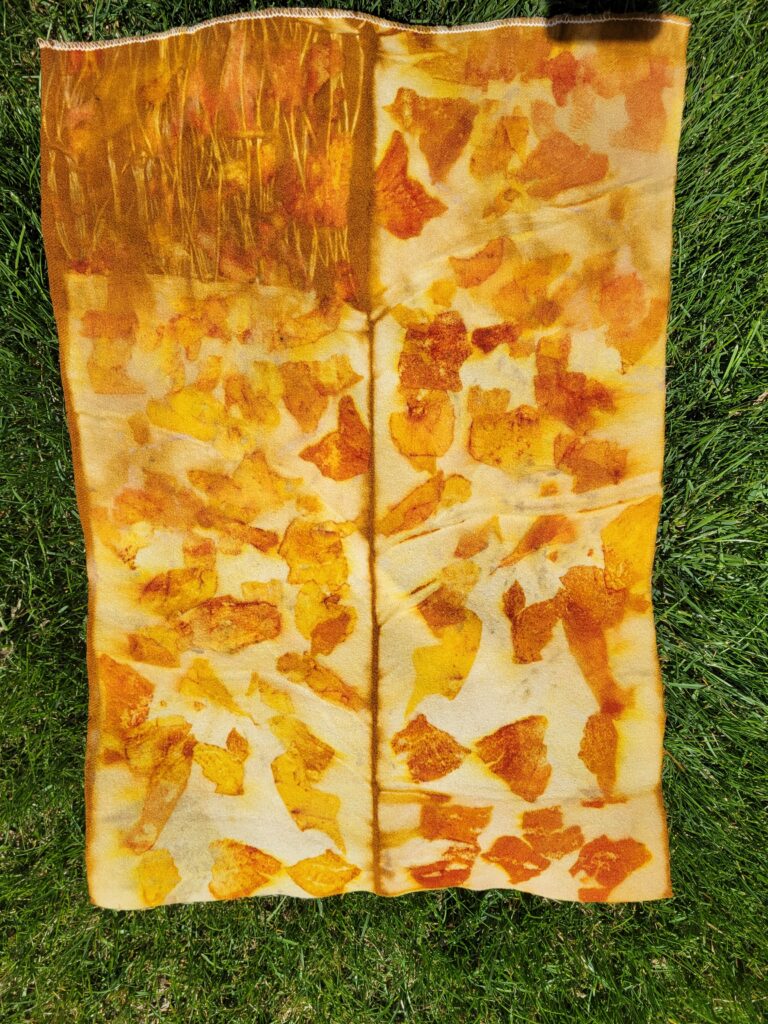
Wool with onion skin and flowers
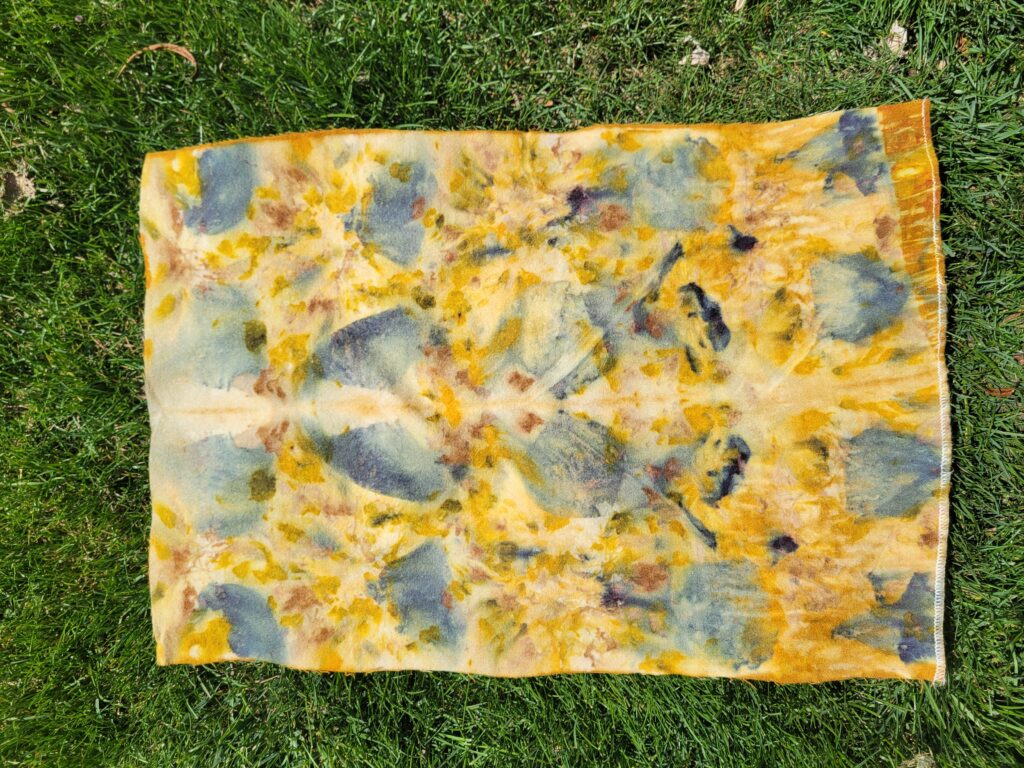
Wool with onion skin and flowers
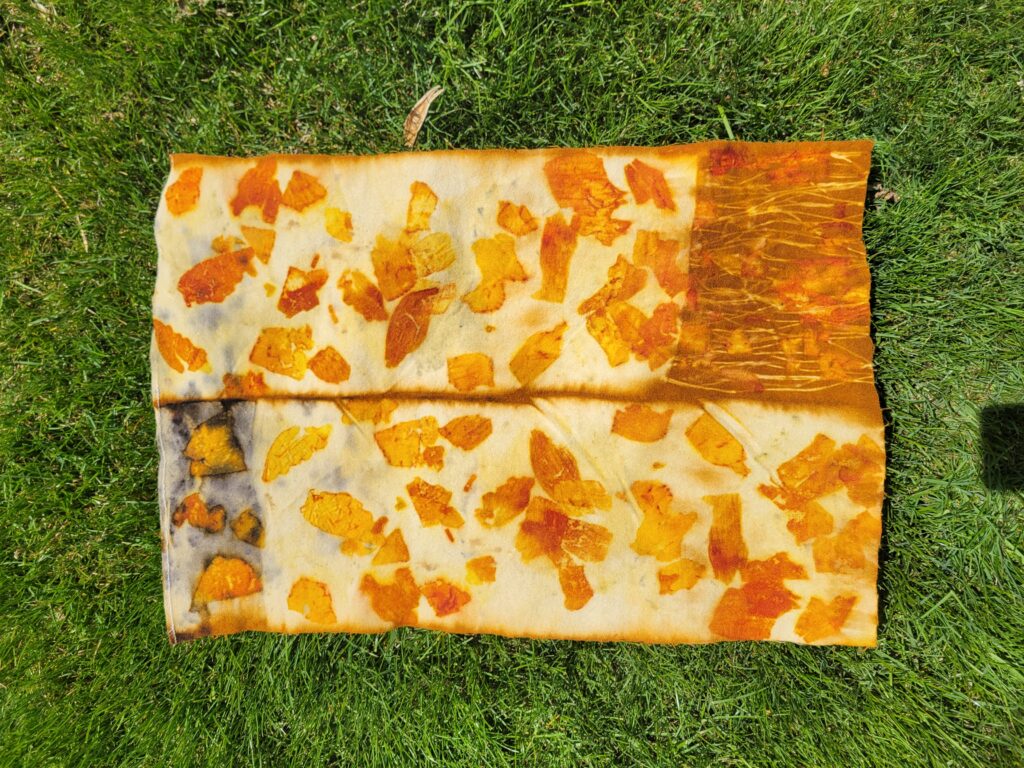
Wool with onion skins and leaves rolled on a rusty metal pipe.
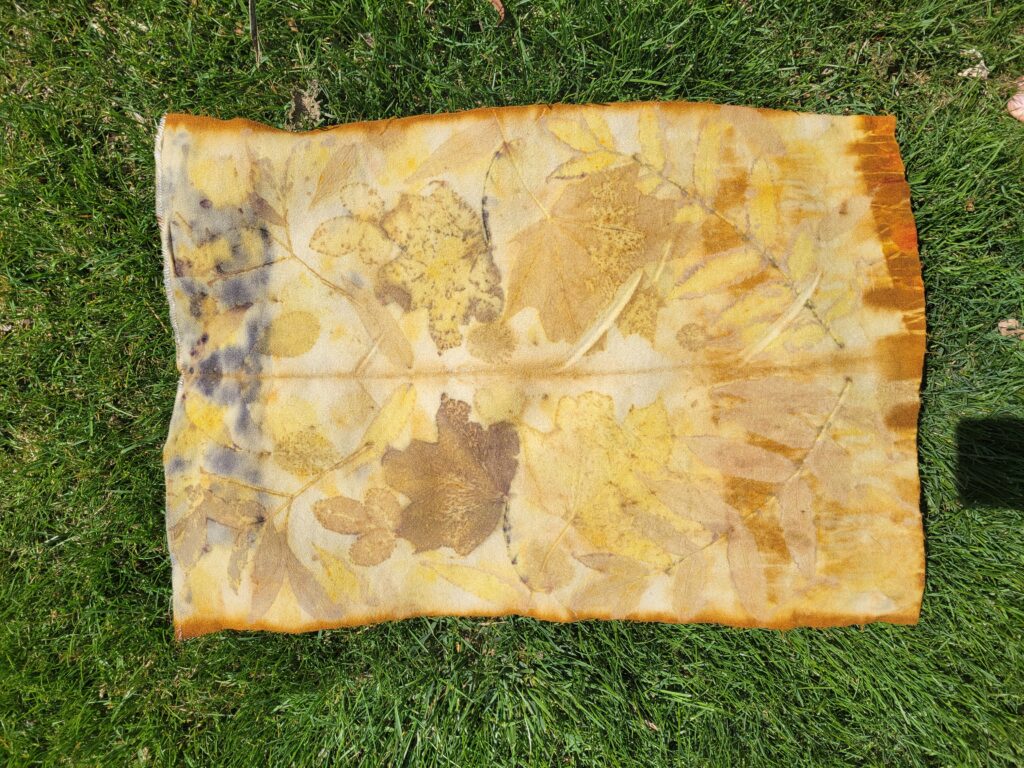
Wool with onion skins and leaves rolled on a rusty metal pipe.
Wool with onion skins and leaves
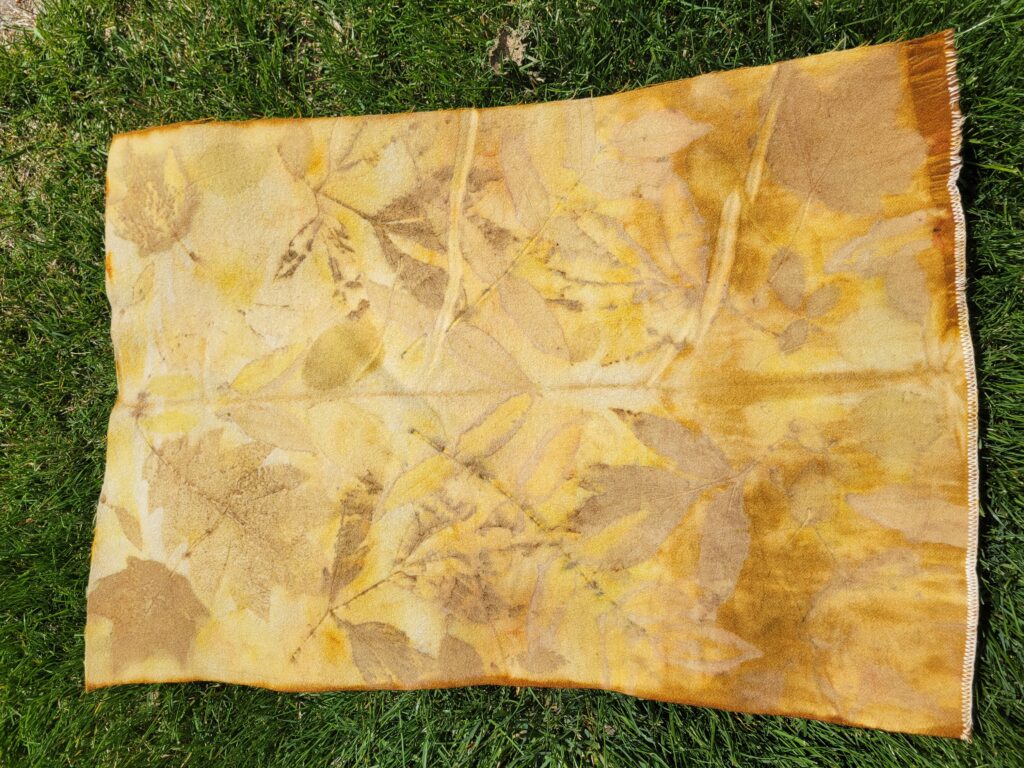
Wool with onion skins and leaves
I will be hanging each of these from a birch branch to use as a wall hanging. This way either side can be showcased.
This was an interesting little experiment, using the onion skins and rusty metal in the aluminum dye pot. Now I just need to get my hands on some eucalyptus leaves, because if you get the right species, they dye red!! How awesome would that be!?!?!
Have a fantastic weekend and consider signing up for my newsletter, to know the newest happenings here at The Creative Naiad!

